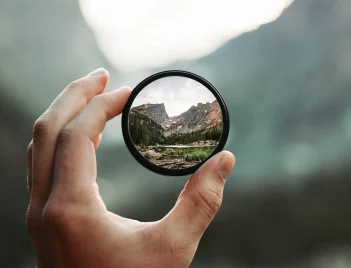
Lighting is the foundation of great photography. No matter how advanced your camera is, the quality and direction of light determine how your subject appears in the final image. By understanding a few key lighting techniques, photographers can dramatically improve the mood, depth, and storytelling in their photos.
Understanding the Importance of Lighting
Photography literally means “drawing with light.” Light controls visibility, contrast, texture, color, and emotion in an image. Skilled photographers do not simply rely on available light—they shape and control it.
Lighting can be manipulated in three major ways:
- Direction – where the light comes from
- Quality – whether the light is soft or hard
- Intensity – how bright the light is
Mastering these aspects helps photographers create professional and visually compelling photographs.
Front Lighting
Front lighting occurs when the light source is positioned directly in front of the subject, often near the camera.
This technique evenly illuminates the subject and reduces shadows, making details clear and easy to see. Because it minimizes contrast, the image can sometimes appear flat, but it works well when clarity and accuracy are the priority.
Front lighting is commonly used in:
- Product photography
- Identification photos
- Documentary photography
Side Lighting
Side lighting is created when light hits the subject from the left or right side.
This technique produces stronger shadows and highlights, adding depth and dimension to the subject. It is especially effective for revealing textures in surfaces such as skin, fabric, landscapes, or architecture.
Side lighting is frequently used in:
- Portrait photography
- Landscape photography
- Artistic and dramatic compositions
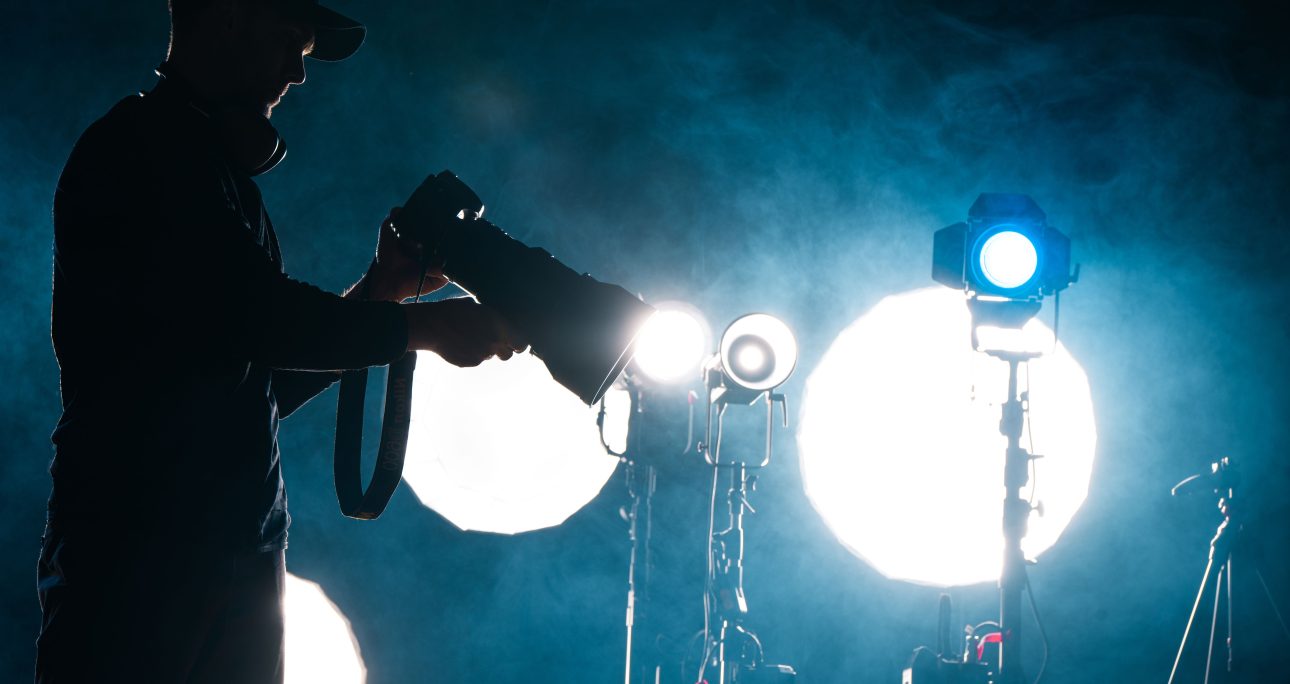
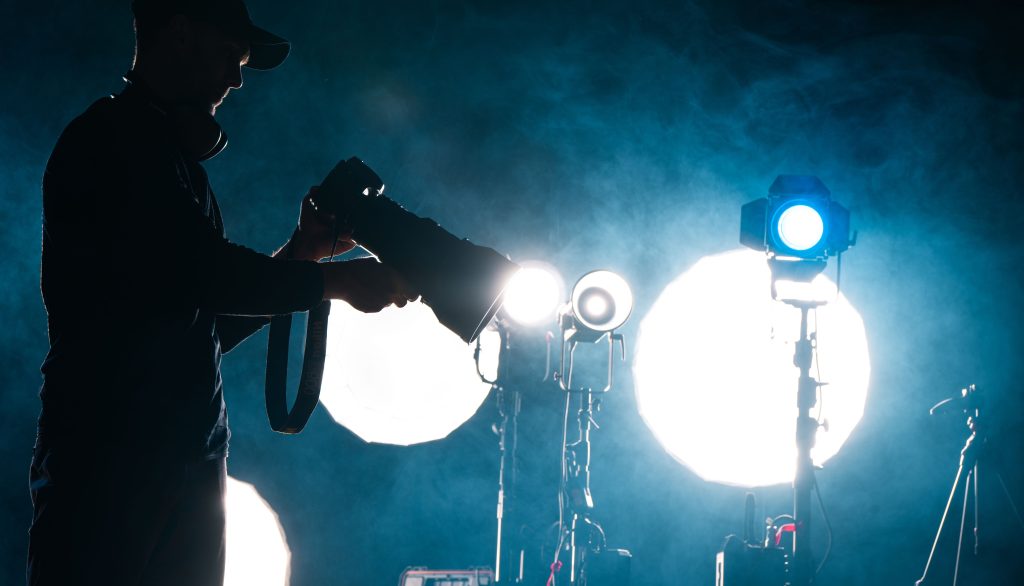
Backlighting
Backlighting happens when the light source is placed behind the subject, facing the camera.
This technique can create silhouettes or glowing outlines around the subject. When used carefully, backlighting produces dramatic and visually striking images, particularly during sunrise or sunset.
Backlighting is popular in:
- Nature photography
- Outdoor portraits
- Creative silhouette photography
Rembrandt Lighting
Rembrandt lighting is a classic portrait technique inspired by the work of the Dutch painter Rembrandt van Rijn.
In this setup, the light is positioned about 45 degrees to one side of the subject and slightly above eye level. The defining characteristic is a small triangle of light that appears on the cheek opposite the light source.
This style creates a cinematic, dramatic look that adds depth and emotion to portrait photography.
Butterfly Lighting
Butterfly lighting is widely used in fashion and beauty photography.
The light is placed directly in front of the subject and slightly above their face. This positioning creates a small shadow beneath the nose that resembles the shape of a butterfly.
The result highlights cheekbones, smooths skin, and produces a flattering look that is ideal for glamour portraits.
Split Lighting
Split lighting divides the face into two equal halves—one illuminated and one in shadow.
The light source is positioned directly to the side of the subject, creating a strong contrast. This technique produces a bold and dramatic style that is often used in character portraits or sports photography.
Loop Lighting
Loop lighting is one of the most common and beginner-friendly portrait lighting techniques.
The light is placed slightly above eye level and about 30 to 45 degrees to the side of the subject. This setup creates a small loop-shaped shadow under the nose.
Loop lighting is popular because it provides depth while remaining soft and flattering for most faces.
Soft Lighting
Soft lighting is produced by diffused light sources such as softboxes, umbrellas, or window light filtered through curtains.
This type of lighting creates smooth transitions between highlights and shadows, making it ideal for portraits, fashion photography, and lifestyle photography. Soft lighting is often preferred when photographers want natural-looking results.
Hard Lighting
Hard lighting comes from small, direct light sources like a bare flash or strong sunlight.
Unlike soft lighting, hard lighting produces sharp shadows and strong contrast. When used creatively, it can add a dramatic or edgy feeling to a photograph.
High-Key Lighting
High-key lighting creates bright images with minimal shadows. The entire scene is well illuminated, producing a clean and cheerful look.
This technique is commonly used in:
- Fashion photography
- Advertising
- Product photography
Low-Key Lighting
Low-key lighting focuses on dark tones, strong shadows, and selective highlights.
Instead of lighting the entire subject, only certain areas are illuminated. This creates mystery, mood, and dramatic contrast in the photograph.
Low-key lighting is often seen in:
- Fine art photography
- Cinematic portraits
- Film noir style imagery
Final Thoughts
Lighting techniques are powerful tools that allow photographers to shape mood, emphasize subjects, and create visual storytelling. By experimenting with different lighting directions and qualities, photographers can transform ordinary images into compelling works of art.
Whether you are shooting with professional studio equipment or simply using natural window light, understanding these techniques will help you take more creative control over your photography.
In photography, mastering light means mastering the image itself.